We have created a few ways to find login page:
Click this link: https://mybabettes.com/appointments/
OR
Find on Swift: These buttons are on SWIFT.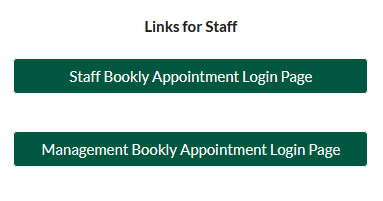 OR
OR
Find on APPT schedule page: 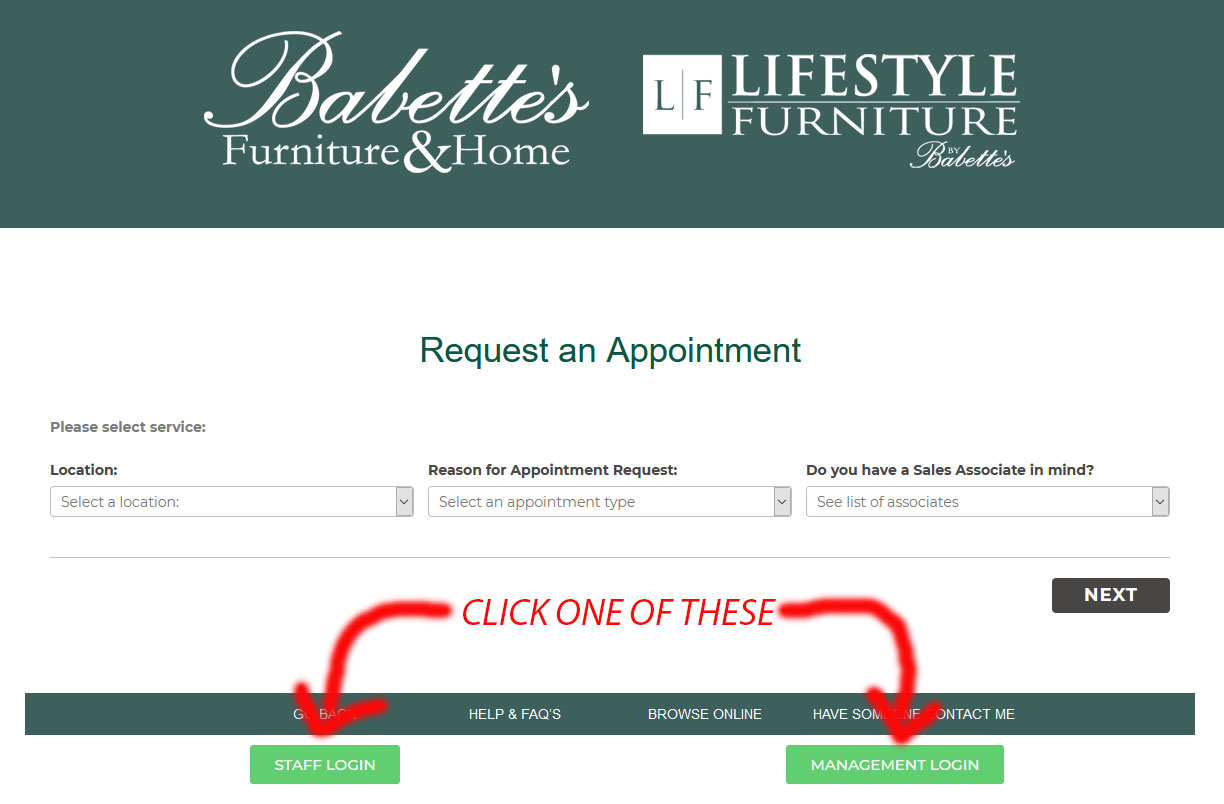
Your initial login follows this format, feel free to update your password. See my login as an example.
USER (firstname.lastname) : amy.jones
PASS (firstname.lastnameEXT#): amy.jones1027
In-store appts can be entered from your profile page, no login is required or on the same page customers visit to schedule an appt.
https://mybabettes.com/schedule
Home Visits and In-Home Design Consultations need to be entered on this page. Scheduling home visits is not available for the client and in-home appts are only requests without a specified date and time.
https://mybabettes.com/appointments/
You will need to enter the appt yourself if your client didn’t submit on the website. There is no need to login if you are on your profile page. Click the tab “enter an appt”. Follow the tips under the tab.

If you make time or date changes, please be sure to update on your Bookly dashboard and your personal Google Calendar. There is currently only a one way sync to Google. This means Bookly sends the info to your Google calendar but your Google calendar does not send changes back. Staff can click on the appt on their calendar tab. The pop up box will allow you to make changes to date/time and other options.

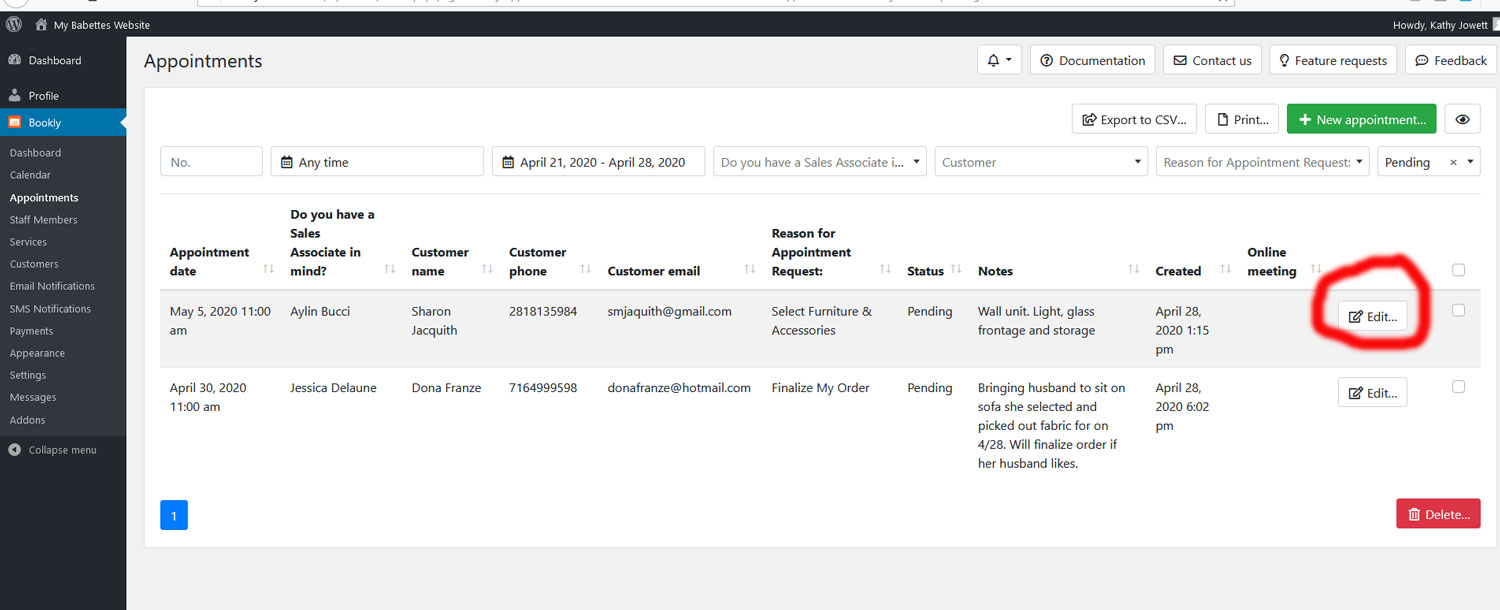
Managers can edit appts on the dashboard under appointments. Use the same process as approving an appt.
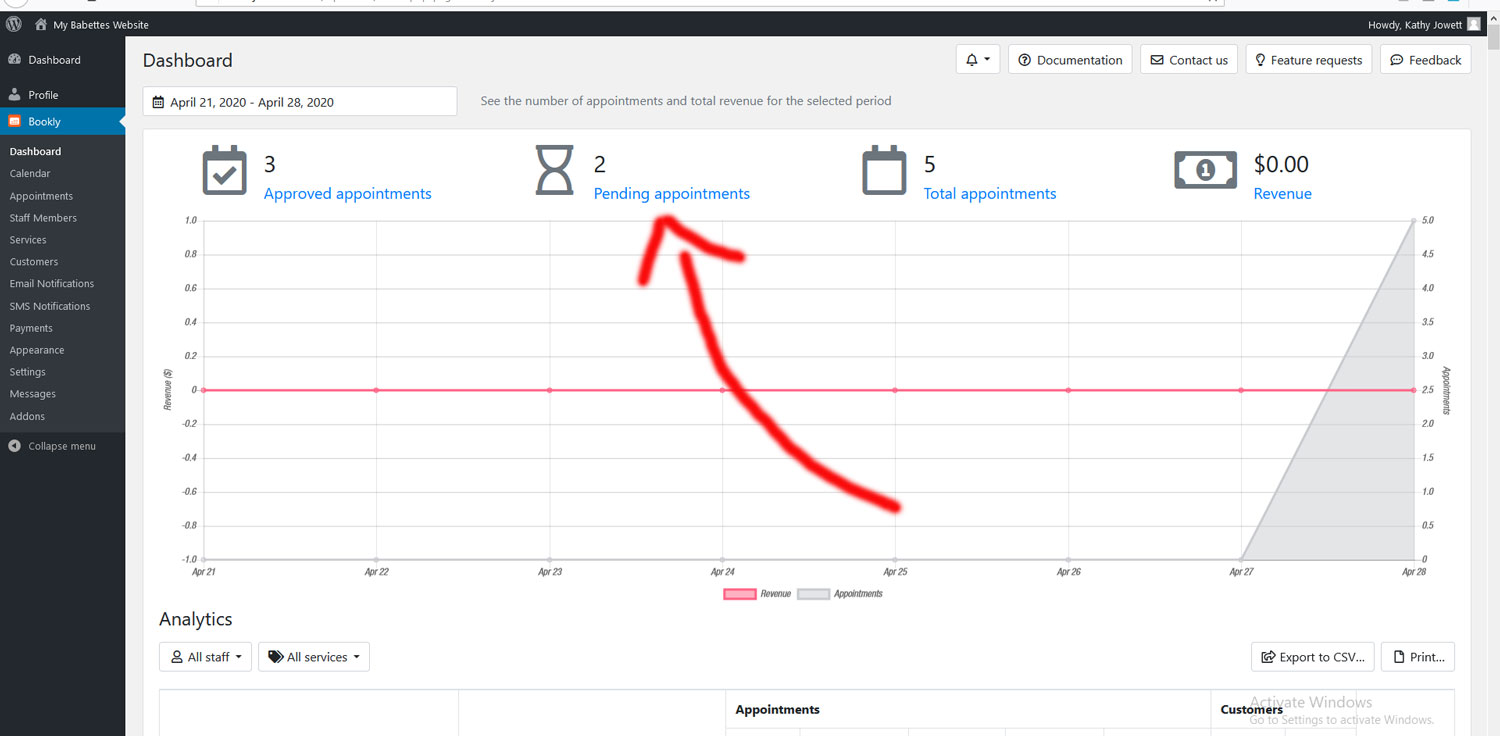
Go to your dashboard. Remember you can find the page a few ways, see “Where do I login?” above.
Click here to go there:
https://mybabettes.com/appointments/
Log in. If you need help, see above section “What is my login?” Click on the SCHEDULE tab.
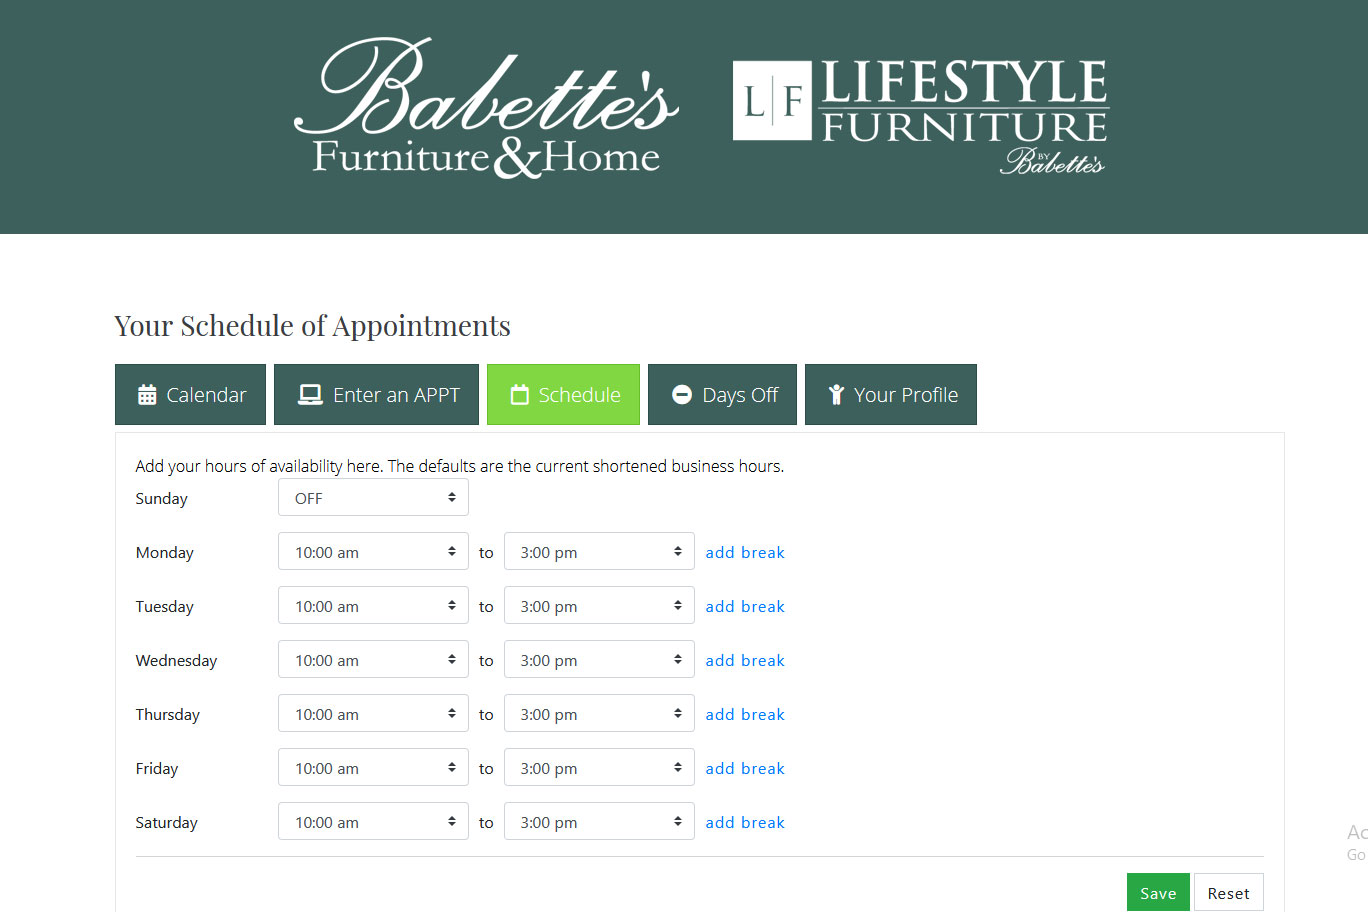
The DAYS OFF tab allows you to enter more days off.
You will need to fill in your schedule each week, however, your schedule defaults to the same schedule as the previous week. This means if your schedule is the same every week you should not have to update.
Go to your dashboard. Remember you can find the page a few ways, see “Where do I login?” above.
Click here to go there:
https://mybabettes.com/appointments/
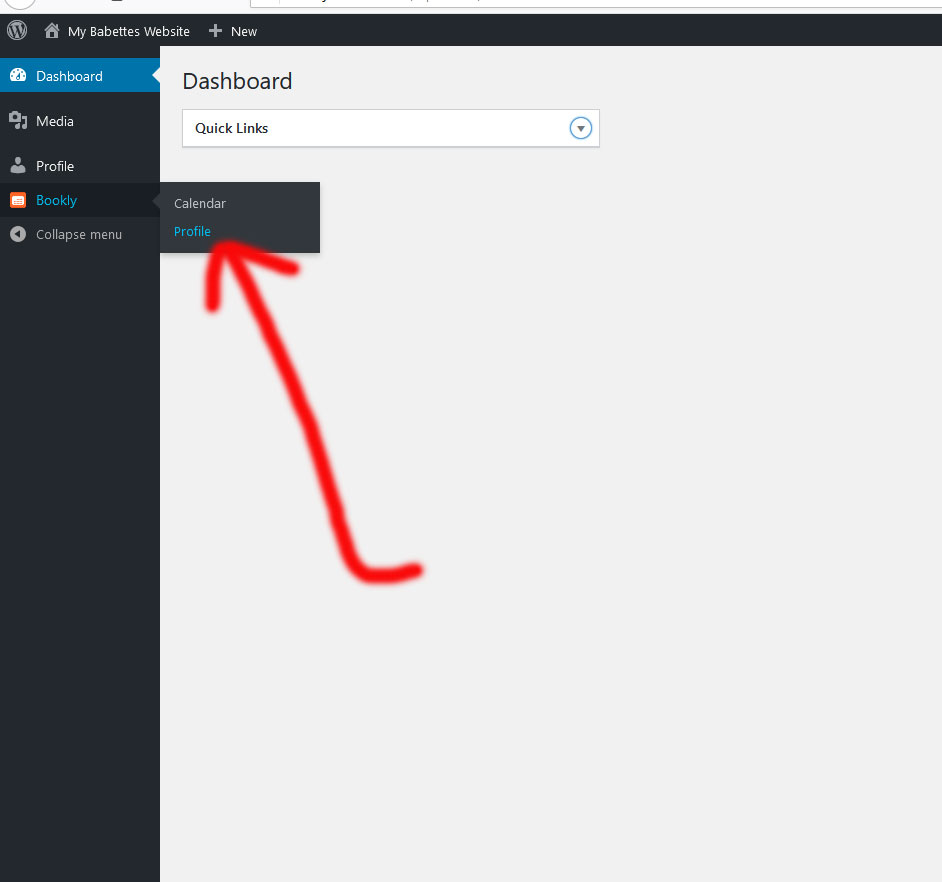
After you are logged in, look in the top left corner under where it says “My Babettes Website”. Click on Dashboard. LOOK FOR THE ORANGE ICON, not the one that says “Profile”. Click on the orange Bookly icon and then select profile. You will see your name and info. Click on the EDIT button on the right side of the screen.
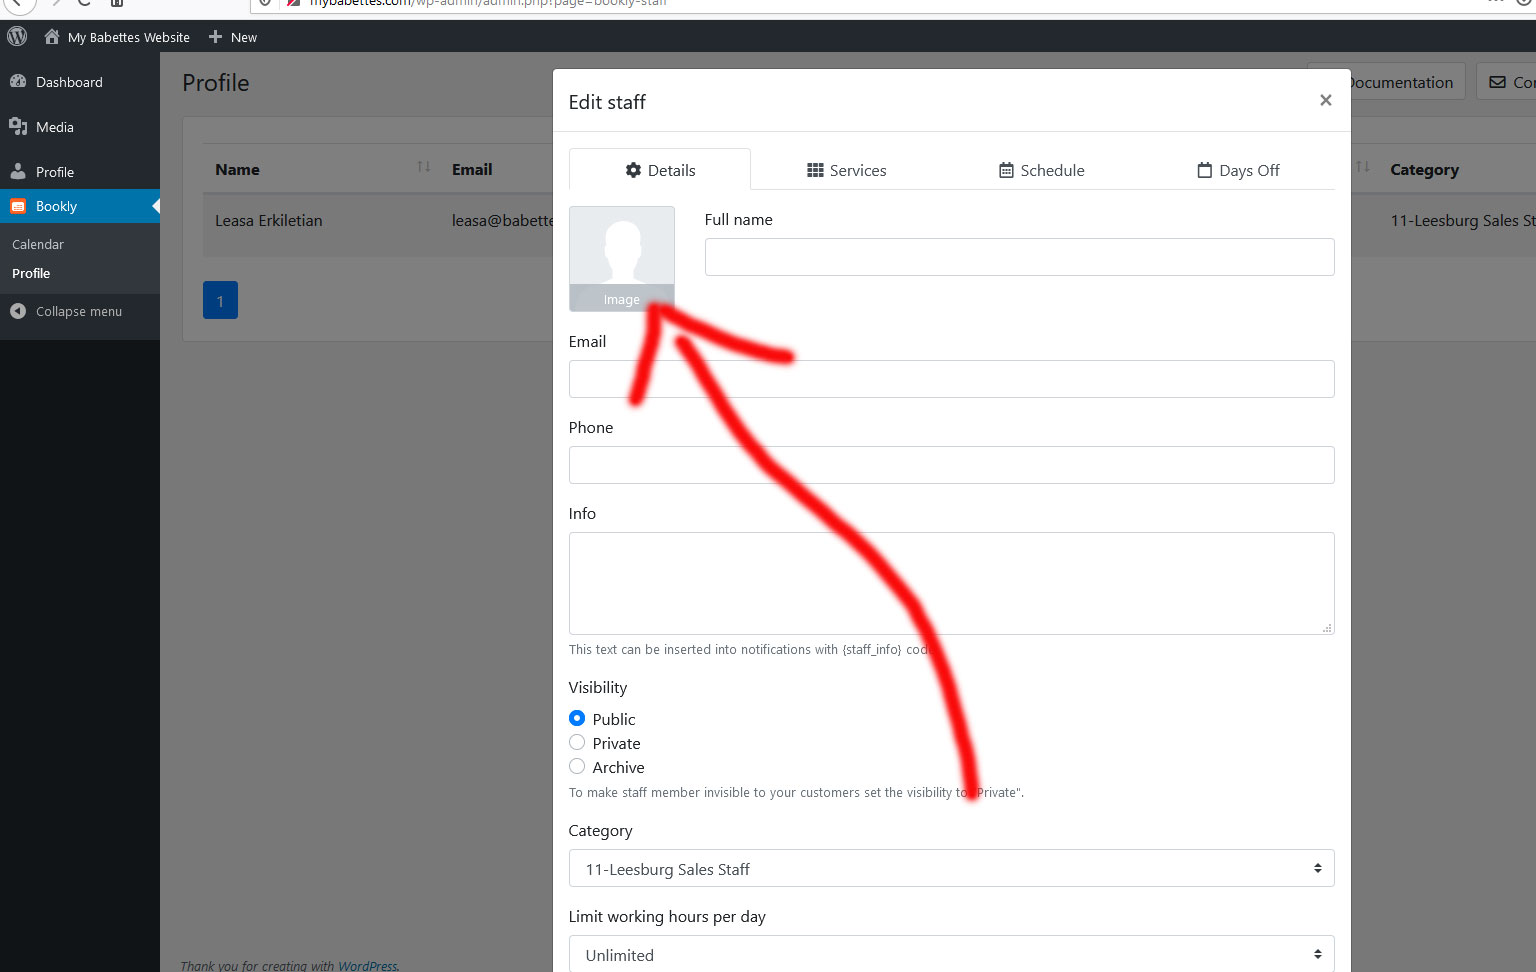
Click on the Person icon and then upload your photo and click save. You will notice that you have some of the same profile info as on your dashboard. You may edit here or the other dashboard.
If you don’t have your photo file handy but you want to use the one on your Gmail, you can do the following:
Look up in the top right corner of your Gmail, click on your picture. Another box will pop up, click on the camera icon on your circle shaped picture. You will see three options, click on the middle one that says “Your Photos”. You should see “Profile Pictures”. Select the photo you want, you will see a blue border and check mark. Right click on your mouse and select “Save Image As”. Save the image to your desktop or another location that you can find quickly. You can close the Gmail image boxes, you are done getting the photo. Go back to your profile, and follow “How do I upload my profile picture” instructions to complete.
Appointments will automatically show on your Bookly Dashboard BUT you will need to add it to your Google Calendar.
Once an appt is APPROVED, the customer and sales associate willl receive the “Your Appointment is Scheduled” email confirmation. At the bottom of the email you will see, CLICK ON LINK BELOW TO ADD THIS APPOINTMENT TO YOUR GOOGLE CALENDAR.
The Google Calendar is called “Bookly”. You will have a separate Bookly calendar for your location.
